Blog
How to Do a Russian Manicure
A step-by-step guide to the technique behind one of the most precise nail treatments available. Whether you're curious about the process or considering training, here's how it works.
Book Now
Russian manicure is a precise technique that requires patience, skill and the right tools. This guide walks through the complete process, from preparation to the final touches.
The e-file replaces the traditional water-soak-and-clip method entirely. When done correctly, each step builds on the last to produce a finish that's both cleaner and longer-lasting.
Step-by-Step Guide
01
Preparation
Clean and sanitise hands and nails, removing any old polish. Get this step right and everything after it is cleaner and safer. Use a quality remover and wash hands thoroughly with antibacterial soap.
02
Nail Shaping
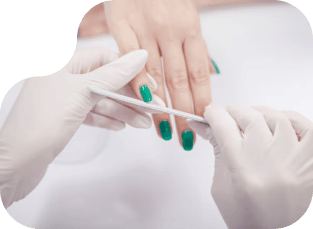
File nails into your preferred shape (square, round or almond) before addressing cuticles. Work in one direction rather than sawing back and forth to prevent damage. The shape should complement your finger shape and personal style.
03
Softening the Cuticles
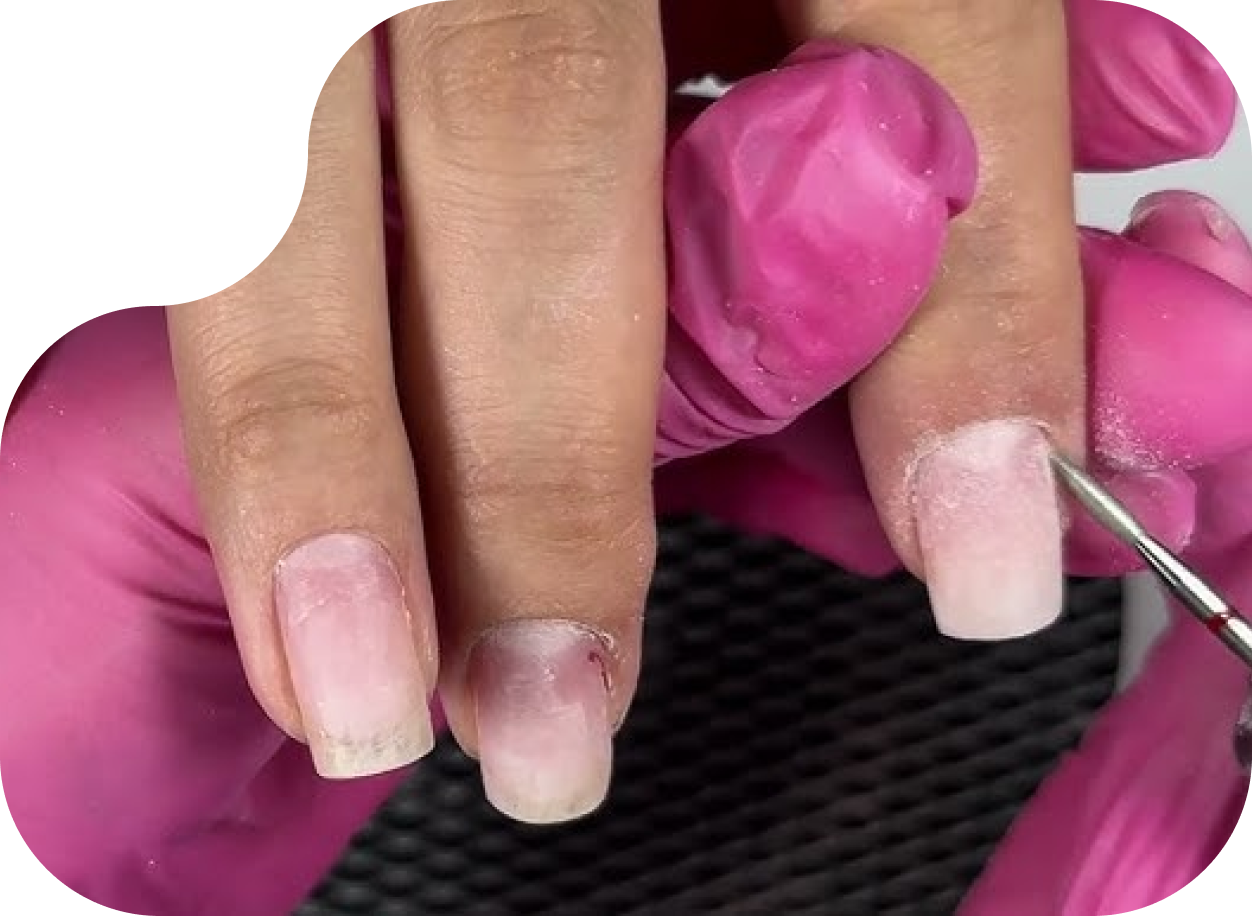
Apply a cuticle softener to the nail beds and allow it time to work. This professional-grade product breaks down dead skin and makes the cuticle work more precise. Wait 2–3 minutes for optimal results.
04
Cuticle Care (the defining step)
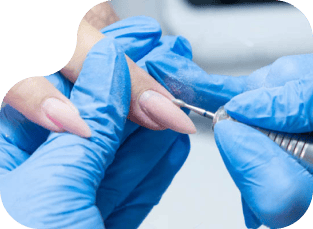
Using a specialised electric nail drill with a fine bit, carefully remove the dead skin around the nail bed with precision and patience. Work slowly and steadily using light pressure to avoid damaging live tissue. The dry technique keeps nails strong and prevents infection.
05
Buffing the Nail Surface
Gently smooth the nail surface to eliminate ridges and improve polish adhesion. Use a fine-grit buffer in gentle, circular motions. A smooth surface helps polish grip better and last longer.
06
Applying Base Coat
Apply a protective clear base coat to shield natural nails and extend polish longevity. The base coat creates a barrier between the nail and coloured polish, preventing staining and promoting adhesion. Allow to dry completely before proceeding.
07
Gel Polish Application
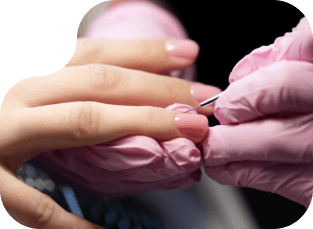
Apply your chosen colour close to the cuticle line, even slightly under it, for a seamless look. Apply thin layers, building up colour gradually. Cure gel polish under UV/LED lamp as directed between coats.
08
Top Coat & Finishing
Seal the colour with a top coat and moisturise hands and surrounding skin. The top coat adds shine and protection. Finish with cuticle oil on the nail beds and hand cream. It rounds off the treatment properly.
Tips for Success
Patience & Precision
Never rush the cuticle work: this is where the technique truly shines. Take time with each step to achieve professional results.
Quality Tools
Invest in professional-grade electric drill and bits designed for Russian manicure. Cheap bits flex under pressure and are harder to control.
Strict Hygiene Protocols
Always sanitise all tools before and after use. Use proper dust extraction during drilling to protect both technician and client.
Practice & Training
The technique takes time to master. If attempting at home, start slowly. When in doubt, consult a qualified nail technician.
Experience it from a trained specialist
Reading the steps is one thing. The results come from skill built over years of practice. Book at About U Nail Studio in South Melbourne.